
How Nigerian Educators Can Review YouTube Captions
Nigerian educators should review YouTube captions as carefully as the lesson itself. Automatic captions can save time, but YouTube warns that speech recognition may mishear accents, names, dialects and technical terms. Open the video in YouTube Studio, correct the words, check the timing, add useful sound descriptions and watch the finished lesson with the sound off before you promote it.
A caption track is not simply a transcript pasted under a video. Each line appears at a particular time. Good captions let a learner follow the spoken explanation and relevant sounds without having to guess who said what or when a sentence changed.
Record with caption accuracy in mind
Caption review begins before upload. Clear speech and controlled background noise give automatic speech recognition a better starting point. Place the microphone close enough for a steady voice level. Ask speakers not to talk over one another. Pause briefly when moving from one section of the lesson to another.
Prepare a short reference sheet with names, subject terms, abbreviations and Nigerian place names that the software may not recognise. A science lesson might include words such as photosynthesis, xylem and chlorophyll. A civic education lesson may mention the National Assembly or a particular state. A reviewer should not rely on what the automatic track guesses.
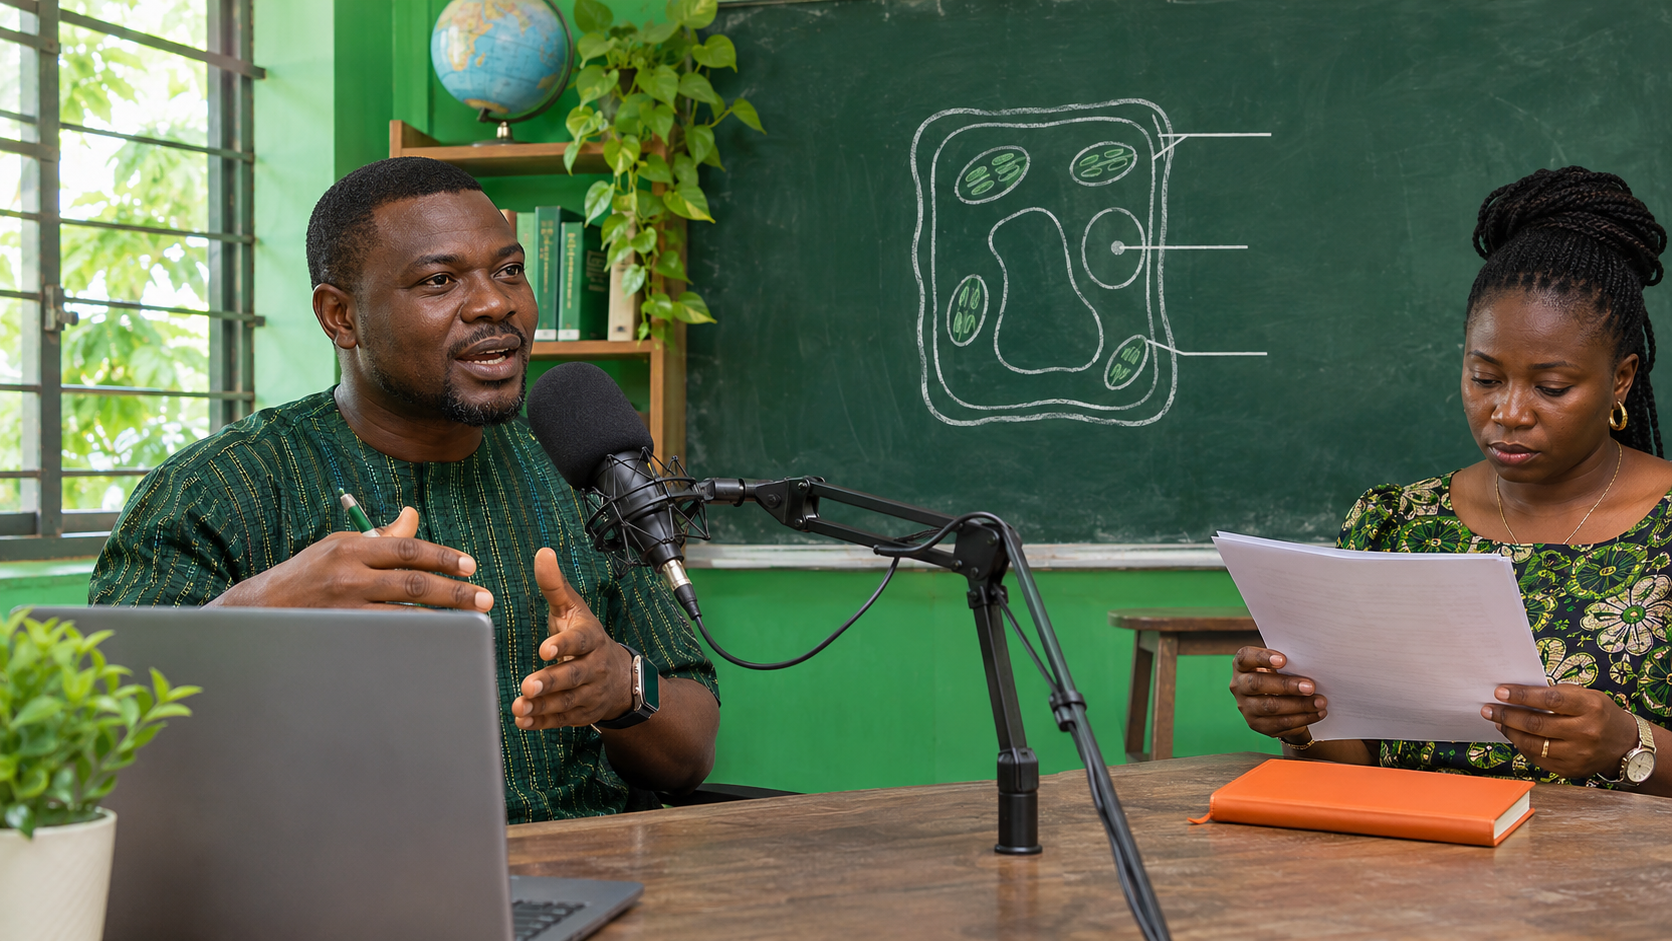
YouTube lists poor sound quality, overlapping speakers, multiple languages and a long silence at the start among the reasons automatic captions may be delayed or unavailable. These are production issues as well as caption issues. Fixing them improves the source recording for every viewer.
Choose the right way to create the caption track
YouTube's current caption instructions provide several routes in YouTube Studio. Open Subtitles, select the video, add a language and then choose an available method.
- Review automatic captions: useful when YouTube has already produced a track, but never assume the first version is accurate.
- Upload a caption file: suitable when a team already has a timed file from its editing workflow.
- Use auto-sync: paste or upload a transcript in the same language as the speech and let YouTube set the timing.
- Type manually: enter the words while watching the video, with timings created as you work.
For a short lesson with one speaker, editing an automatic track may be efficient. For a scripted course with many lessons, a prepared transcript and repeatable file workflow may give the team more control. YouTube notes that auto-sync is not recommended for videos longer than one hour or those with poor audio quality.
Review the captions in four separate passes
Pass 1: correct meaning, names and numbers
Read every line against the audio. Correct any word that changes the meaning of the lesson. Check names, formulas, dates, units, currency amounts and numbered steps. A caption that changes fifteen to fifty can make an otherwise correct worked example unusable.
Do not "improve" a quotation or technical definition while captioning. The visible words should represent what the speaker actually said. If the spoken explanation is wrong, correct the video or add a clearly disclosed correction rather than silently placing a different lesson in the captions.
Pass 2: make speaker changes clear
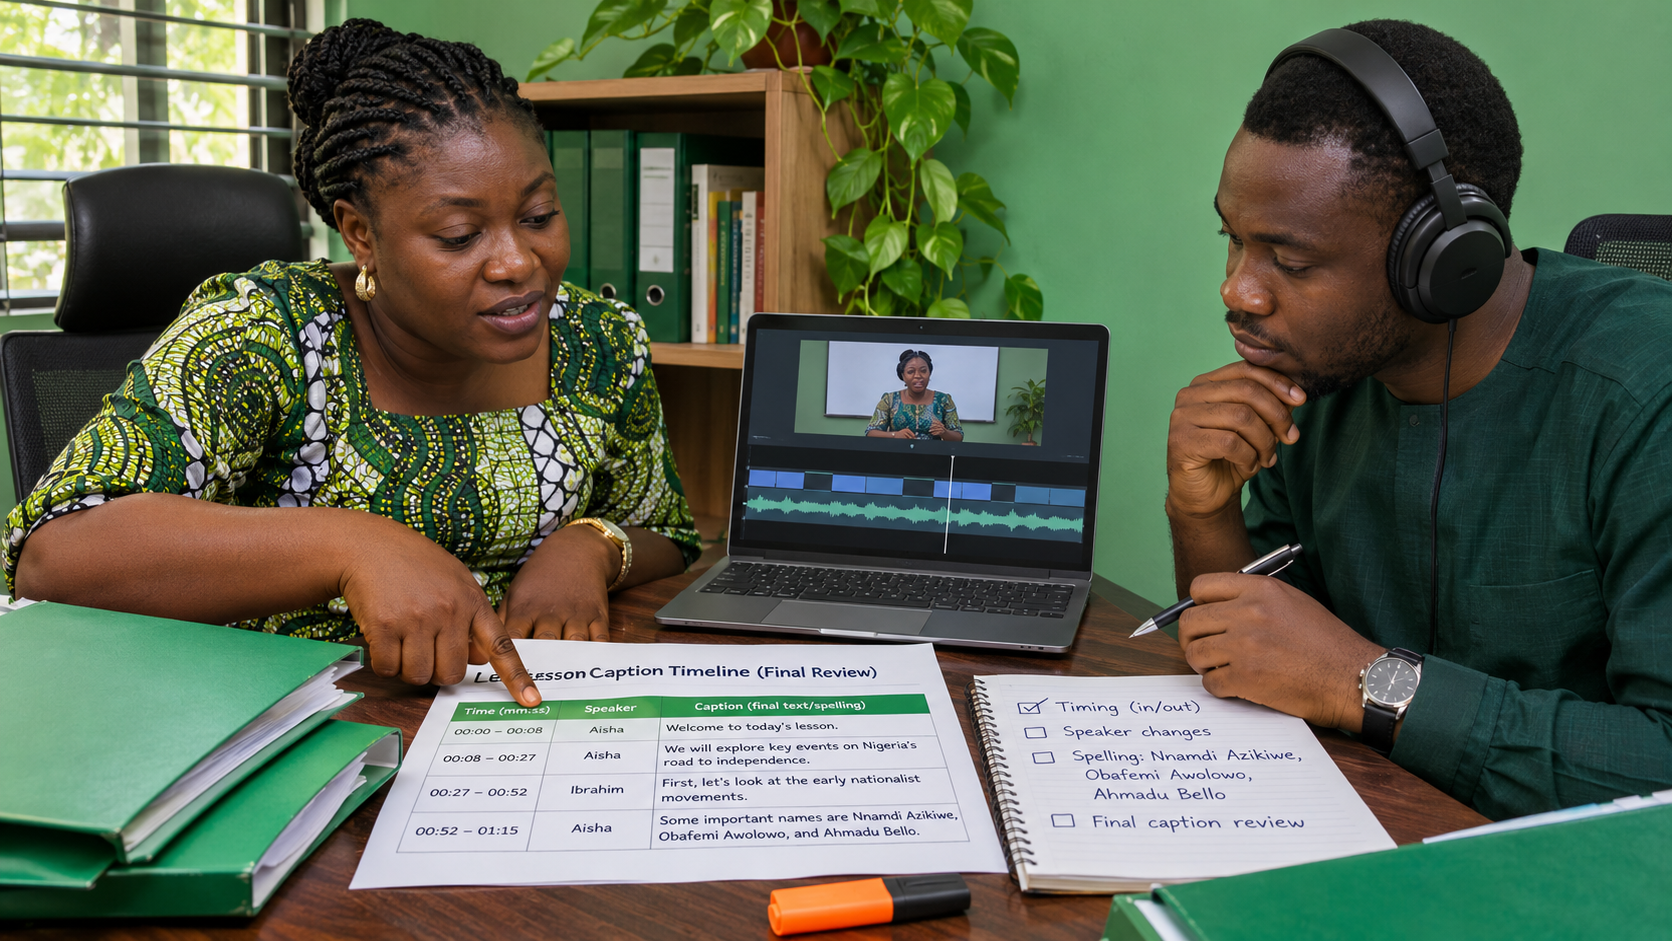
When two people speak, a learner should know when the voice changes. Use a consistent speaker label where identity is not obvious from the picture. This is especially useful in an interview, panel discussion or question-and-answer lesson. Avoid long labels that crowd the line.
Pass 3: check timing and reading flow
Play the video and watch when each caption appears and disappears. A line should not arrive after the idea has already been explained. It should not remain so long that it appears to belong to the next speaker. Break a dense sentence at a natural phrase boundary rather than leaving one important word by itself.
YouTube says its editor allows changes to both text and timestamps. Its caption editing guide explains how to edit timing directly or download a caption file for revision.
Pass 4: add relevant non-speech information
Captions can include sounds that carry meaning, such as [applause], [alarm rings] or [students speaking together]. Add a sound only when it helps the learner understand what is happening. Do not fill the track with every chair movement or breath.
Pay special attention to Nigerian names and speech patterns
An automatic system may turn an unfamiliar surname, town or local-language expression into a common English phrase. Build a project glossary and reuse it across lessons. The glossary can include the preferred spelling, capitalisation and a short note for the reviewer. It is particularly valuable when different editors handle different videos in a course.
Keep the spoken language as it is. Do not erase a speaker's Nigerian English or translate an expression into a different meaning just to make it look more formal. Correct recognition errors while preserving the speaker's intended words. If a code-switched phrase needs translation for the target audience, use an appropriate subtitle track rather than pretending the speaker used different words.
Do a sound-off lesson check
After publishing the corrected track, watch the lesson from beginning to end with the audio muted. Ask four questions:
- Can a learner follow the main explanation from the captions and visible teaching material?
- Are all names, figures and subject terms accurate?
- Do caption changes match the speaker and the action on screen?
- Does any important sound or off-screen instruction remain unexplained?
Then watch a second time with sound. This catches timing problems that a silent text review can miss. If possible, ask someone who did not edit the video to perform the check. Familiarity often makes an editor read the intended word instead of the word actually displayed.
Use a simple file workflow for a lesson series
If a course has many videos, keep the final caption file beside the approved video master. Use filenames that identify the lesson, language and version. YouTube's supported caption file guide recommends basic formats such as SubRip, with the .srt extension, for teams getting started. A plain-text caption file should still be checked after upload because a correct file can be attached to the wrong lesson or language.
Keep the reviewed transcript as a production asset. It can help the team prepare lesson notes, locate a quotation or update one section later. Do not publish a transcript as a separate article without checking that the text still makes sense outside the video.
Promote the lesson only after the caption track is useful
Captions can make a lesson available to more people, including viewers who are deaf or hard of hearing and people watching where audio is inconvenient. They do not guarantee more views, better retention or higher search placement. The educational value still depends on an accurate explanation, a clear title and a lesson that answers the learner's question.
Once the lesson and captions are ready, you can review current YouTube-related services on Cloutingo. Check the individual service description, destination and conditions. Paid views or engagement do not prove that viewers understood the lesson, so measure learning with appropriate evidence such as completed exercises, useful questions or course progress.
Our terms and policies require customers to follow the relevant social network and read service descriptions. If a suitable promotion option supports your plan, create a Cloutingo account and choose carefully. The caption review should already be complete before you send more people to the video.